


1. What You Need to Create a Sticker
What do you need to create a sticker? You need to design and produce a sticker that is readable, consistent with its intended use and ready for printing, without errors that would force you to start all over again. Below, we’ll guide you step by step through this process.
The term “sticker” is deliberately broad. In practice, it can refer to very different products, such as:
- labels for products and packaging
- promotional or branded stickers
- decorative stickers for personal items
- informational or functional stickers
- stickers intended for outdoor use
Understanding what type of sticker you are creating is the first crucial step. This choice affects materials, dimensions, finishes and also the correct way to prepare the print file.
A useful distinction is between stickers with an informational function and stickers with a visual function. If you need to include ingredients, variants, instructions or mandatory information, you are effectively working on an adhesive label. If, instead, the goal is mainly visual, promotional or related to branding, you are closer to a sticker. The difference is not just semantic: it affects the amount of text, tolerance for errors and how the sticker will be read.
Before opening any software, it’s worth pausing to consider three key questions:
- Where will the sticker be applied?
- How long does it need to last?
- What needs to be understood in just a few seconds?
Skipping this step almost always leads to the same outcome: a sticker that looks fine but is unsuitable for real-world use. And an unsuitable sticker, in practice, is not fixed — it is reprinted, with additional costs.
2. Before You Design: Purpose and Use Case
Design is not the starting point, but the result of a clearly defined use case. Some scenarios occur more frequently than others and help guide decisions.
Let’s look at a few of the most common ones:
Packaging and products
In this scenario, the sticker is handled, transported and sometimes exposed to moisture, cold or curved surfaces. Readability and durability matter more than immediate visual impact.
In summary:
- durability is a priority
- the graphic must work even on non-flat surfaces
- material and finish choices are critical
Events and promotions
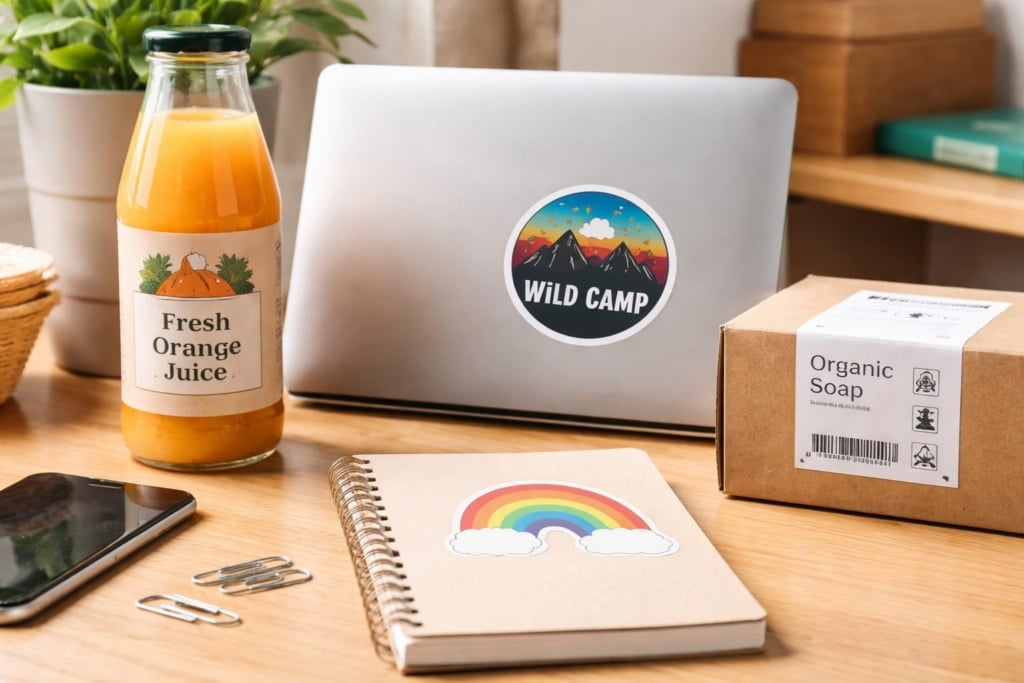
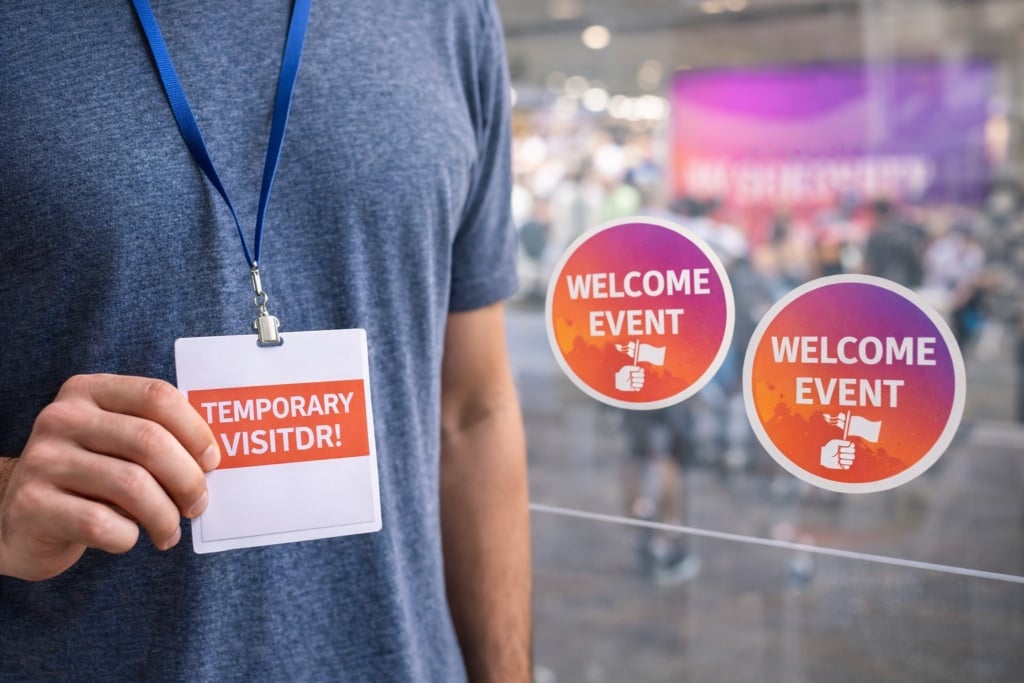
Here, the sticker becomes an item to be handed out: it ends up on laptops, water bottles or notebooks. It needs to be easy to apply, recognizable and durable enough not to deteriorate quickly.
In this case, what matters most is:
- immediacy of the message
- ease of use
- visual value and brand recognition
Personal decoration
This is the most flexible scenario, but also the one where technical limitations emerge most easily. Overly complex graphics or fragile materials quickly reveal their weaknesses.
Pay particular attention to:
- details that are too small
- challenging surfaces
- differences between on-screen appearance and real-world results
If the sticker is intended for outdoor use, humid environments or objects that are washed, it should be treated as an item subject to stress. This is not a minor detail: it is what distinguishes a sticker that lasts from one that deteriorates after just a few days.
3. Shape and Size: Why Readability Comes Before Creativity
Many stickers fail not because they are unattractive, but because they are hard to understand. Shape and size are communication tools, not purely decorative choices.
The right size is the one that allows the content to breathe. Thinking about reading distance helps avoid common mistakes:
- stickers seen up close → more freedom, but controlled text
- stickers seen from a distance → few elements, large and high-contrast
Shape follows function as well. Standard shapes, such as rectangles or circles, work very well when text or information is involved. Custom-outline shapes are effective when the shape itself reinforces the message, as with an icon or logo.
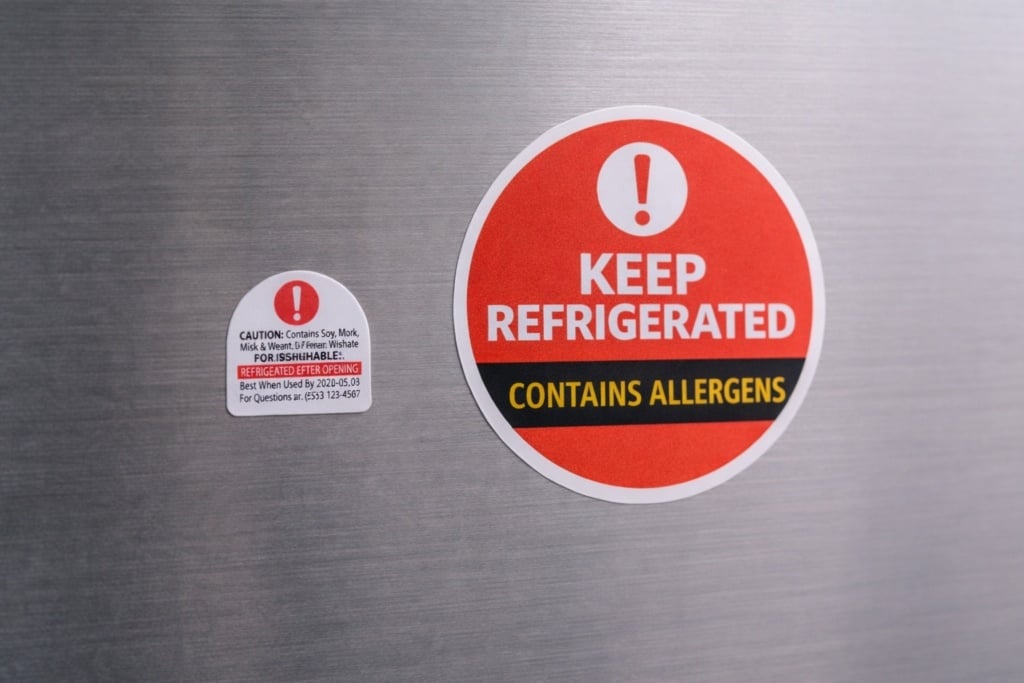
If the sticker contains information that must not be misinterpreted, a regular shape is often the safest option. A custom outline works when it simplifies reading, not when it complicates it.
4. Materials and Finishes: Choosing the Right One First Time
Material choice has a direct impact on the final result. Many problems arise from supports that are unsuitable for the intended use case.
Paper stickers are suitable when:
- the use is indoor
- there is no moisture
- the sticker is not handled frequently
They become problematic, however, if:
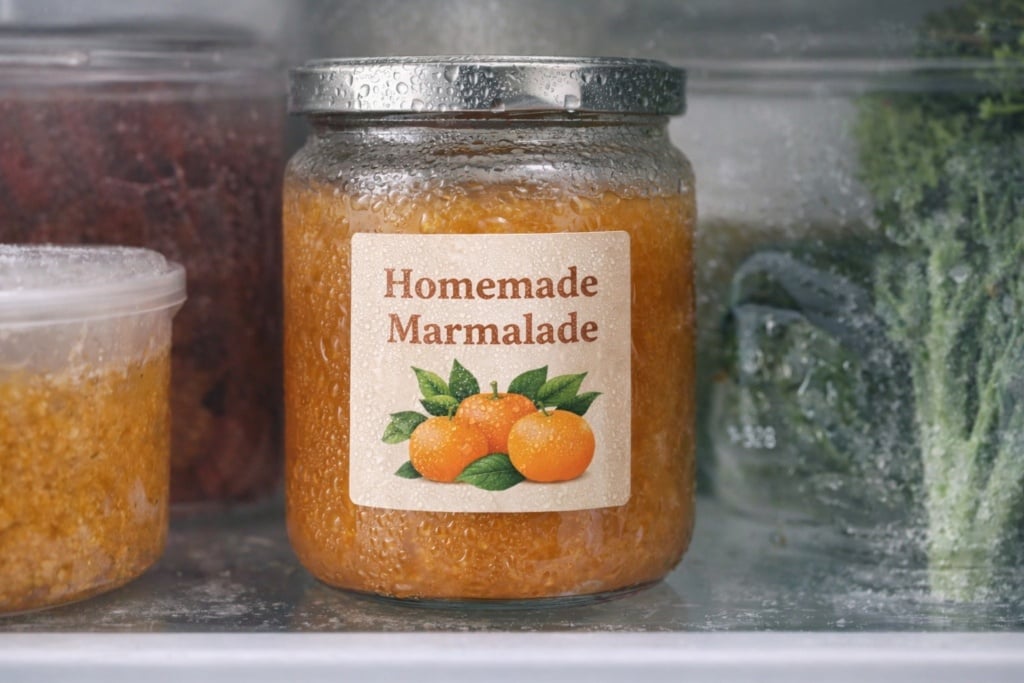
- the sticker goes in the fridge
- it is handled frequently
- the surface is not perfectly smooth
Vinyl materials are more suitable when:
- long-term durability is required
- the sticker is exposed to stress
- the use is outdoor or on refrigerated products
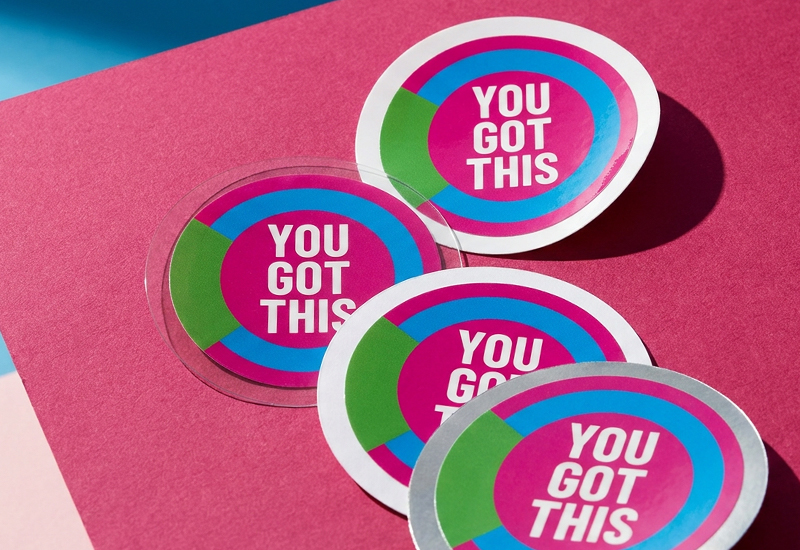
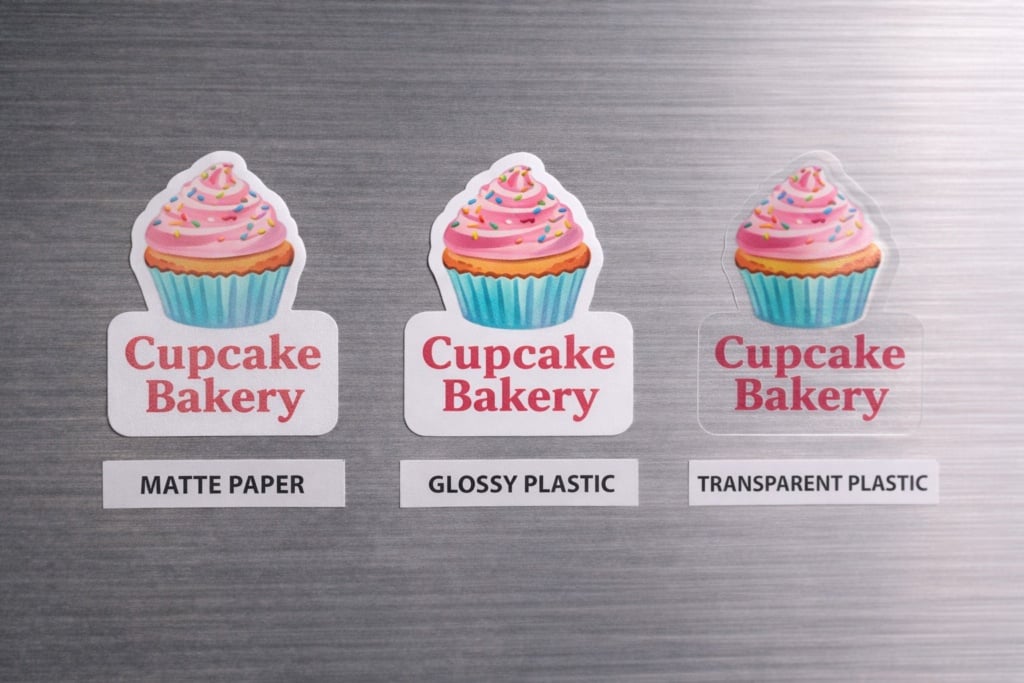
At Pixartprinting, custom stickers are available on four materials: white PVC-free vinyl and clear glossy PVC-free vinyl for durable, moisture-resistant results; glossy white paper for a classic finish on indoor items; and glossy silver foil paper, which offers strong opacity, making it a good fit when your design needs to stand out clearly over a colored or busy background.
A simple rule of thumb is to imagine the sticker after a week of real use. If you expect scratches, moisture or frequent handling, a vinyl material is not optional — it’s essential.
5. Graphic Design: Making It Work Before It Is Printed
A sticker is not a miniature poster. It is a short message that lives on small, often imperfect surfaces. That’s why visual hierarchy is essential: you must decide what needs to be understood immediately.
Some signs indicate that a design is not working:
- you need to reduce the font size to make everything fit
- the main message does not stand out at first glance
- contrast only works on screen
A simple but highly effective tool is the contextual mock-up: placing the design on a real photo of the final object helps identify issues before printing and reduces the risk of mistakes.
6. Preparing the Print File: The Part That Makes the Difference
This is where the most costly mistakes tend to occur. In printing, physical rules matter more than aesthetics alone.
A print-ready file takes into account:
- resolution appropriate to the final size
- correct use of color space
- safety margins for text and critical elements
- bleed to avoid white edges
- proper handling of fonts and vector graphics
Ignoring even one of these aspects can mean having to reprint everything.
For those who want a guided workflow and options already calibrated for materials, shapes and finishes, it is possible to configure the printing of custom stickers directly on Pixartprinting via this link.
7. Cutting and Format: How User Experience Changes
The choice of cutting type directly affects how the sticker is used, distributed and perceived — and at Pixartprinting, it also determines which product family you’re ordering from.
With kiss-cut (also known as half-cut), the blade cuts only the adhesive material, without cutting through the backing. The sticker remains resting on a larger sheet or continuous roll and is peeled off when needed. This is a practical solution when handling many labels together, since it protects the product during transport, speeds up application and works with automatic labeling machines. At Pixartprinting, this is the Roll Labels product line, with orders from 100 to 10,000 pieces.
Die-cut, on the other hand, is a full cut that follows the outline of the sticker, separating it completely from the backing. The result is a single, finished piece, often perceived as a more refined, standalone object — the typical choice for stickers intended to be handed out, sold or used as promotional items. At Pixartprinting, this is exactly what the Custom Stickers line is: every shape (round, rectangle, square, oval, custom shape and die-cut) is produced as an individual die-cut piece, with orders from just 25 up to 1.7 million.
In summary:
- kiss-cut (Roll Labels) → continuous strip, built for production lines and repeated application
- die-cut (Custom Stickers) → single, individual piece, ready to peel and place
If you’re ordering from Pixartprinting, the product name itself tells you which cut you’re getting — no need to select it separately.
8. Step-by-Step: How to Print Your Stickers with Pixartprinting
Once your design is ready, turning it into a finished product is straightforward. Here’s exactly how the process works:
- Choose your sticker type. Pick from round, rectangle, square, oval, custom shape or die-cut — matching the shape you settled on in Section 3.
- Configure your options. On the product page, select size (from 1″ x 2″ up to 5″ x 5″, depending on shape), material, finish and quantity. Orders start from just 25 copies, so you can test a design without committing to a large run.
- Download the template and instructions to make sure your file is set up correctly for print — bleed, safety margins and color space included.
- No artwork yet? Use the free online editor to design your sticker directly in the browser, no design software required.
- Upload your file and place your order. Your finished stickers are delivered straight to your door, with free shipping on every order.
Pricing is calculated in real time based on size, shape, material, finish and quantity — there’s no fixed price list, and the more you order, the lower your cost per sticker.
9. Final Check: Test, Refine and Reach the Right Solution
Before considering a sticker “final,” it helps to change perspective: think of it not as a single, fixed outcome, but as a process of gradual refinement. Even when a project is well designed, some aspects only become clear once you can see and handle the printed sticker.
For this reason, one of the most practical advantages of ordering custom stickers is the ability to print very small runs before moving on to larger quantities. Printing just a few stickers allows you to assess aspects that remain abstract on screen: color reproduction, text readability, material feel and how the sticker behaves on the final surface.
At this testing stage, it makes sense to ask:
- Is the message immediately readable on the printed sticker?
- Does the material respond well to light, moisture and handling?
- Are the format and cut practical in everyday use?
- Does the final result match the project expectations?
The option to order small quantities for successive tests makes the process far more flexible. You can try a different finish, a color variation or an alternative size, compare results and progressively arrive at the most effective solution, without waste or guesswork.
This approach is particularly useful when creating custom stickers for products, events or brands: testing is not a waste of time, but the simplest way to reduce errors and achieve a final result that truly matches the intended use.
From Idea to Print: Make Your Sticker
Creating an effective sticker is not just about designing an attractive graphic, but about making the right choices: understanding real-world use, selecting suitable materials and finishes, designing for readability and preparing a file that stands up to printing. It is a process built on informed decisions, testing and small adjustments.
Ordering online with Pixartprinting makes this journey much simpler, letting you move quickly from project to product, test small runs before committing to a larger order, and refine the result until you reach the ideal solution, without technical complications or unnecessary waste.
If you have already defined your sticker and want to proceed with printing, you can configure materials, formats and quantities directly online through Pixartprinting’s custom stickers service, designed to support you from the first test to final production.
Whether you are working on a product, an event or a branding project, having control over the entire process, from idea to print, is the most effective way to create stickers that truly work in the context they are designed for.

FAQ
What is the difference between a sticker and a label? It depends on function: informational in the first case, more decorative or promotional in the second.
Can I start from a photo taken on my phone? Yes, as long as the resolution is sufficient for the final size.
Why do colors change in print? Because screens and printing use different color models.
Kiss-cut or die-cut: which should I choose? It depends on how the sticker will be used and distributed. If you need individual, peel-and-place pieces for giveaways, packaging or branding, die-cut custom stickers are the right choice. If you need a continuous strip for a production line or an automatic labeling machine, that’s what kiss-cut roll labels are built for.
How do I order custom stickers from Pixartprinting? Choose your shape, configure size, material and finish, then either design your sticker with the free online editor or upload your own print-ready file. Orders start from 25 copies and ship free.