

Exploring Behance: Understanding the Creative Network
Are you on Behance? This question often comes up if you’re immersed in design, art, or any corner of the creative community. If the answer is no, keep reading—we’re about to dive into what Behance is, how it works, and the benefits it can offer you. If you’re already familiar with it, don’t skip ahead—keep reading for useful tips that could help make your portfolio even more competitive. Let’s dive in.
What exactly is Behance?
In 2006, Scott Belsky and Matias Corea launched Behance, a platform created to support creative careers, bring order to the chaos of the creative world, and promote transparency. Behance serves as a global stage where creative professionals can showcase their work, connect with peers, find inspiration, share feedback, stay on top of industry trends, and discover new opportunities. In short, it’s a space for strengthening your personal brand and attracting new clients if you use it strategically.
Navigating Behance: A How-to Guide
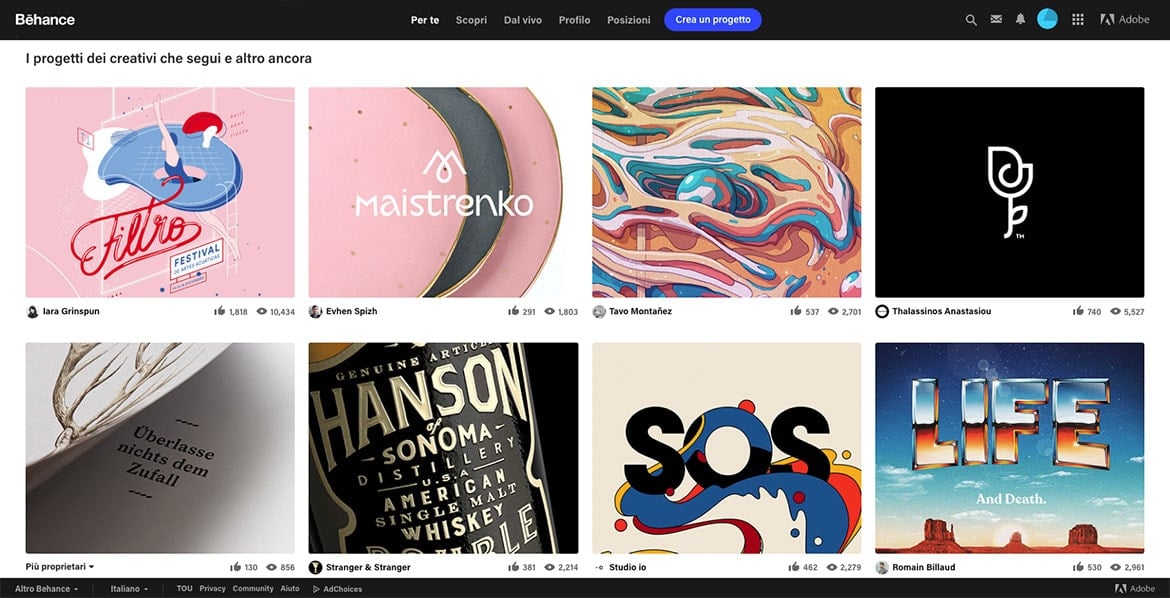
To get started, sign up and select your interests. This will customize your dashboard with a feed tailored to your preferences.
Behance Explained: A User’s Perspective
Here’s a brief overview of accessible sections:
- Discover: Showcases “The Best of Behance,” featuring projects handpicked daily by the platform’s curators.
- Live: Offers a digital archive of live sessions and professional videos, organized for easy browsing.
- Profile: Your digital introduction. It’s important to clearly describe your areas of expertise (whether logo design, UX, app development, or illustration) and highlight your strongest skills so your portfolio aligns with your profile.
- Jobs: A comprehensive job board filled with opportunities. You can filter listings by role, location, and creative field to match your interests.
- Creating a Project: Your digital storefront for showcasing your work. Think quality over quantity—feature your best pieces, not everything you’ve ever made.
Uploading a Project: The Basics
New to Behance? We recommend starting with the platform’s guidelines, which cover everything from profile management to project creation. For those ready to post a project, let’s step into the “Create a Project” section and explore the editor.
Initial Phase: Content Upload
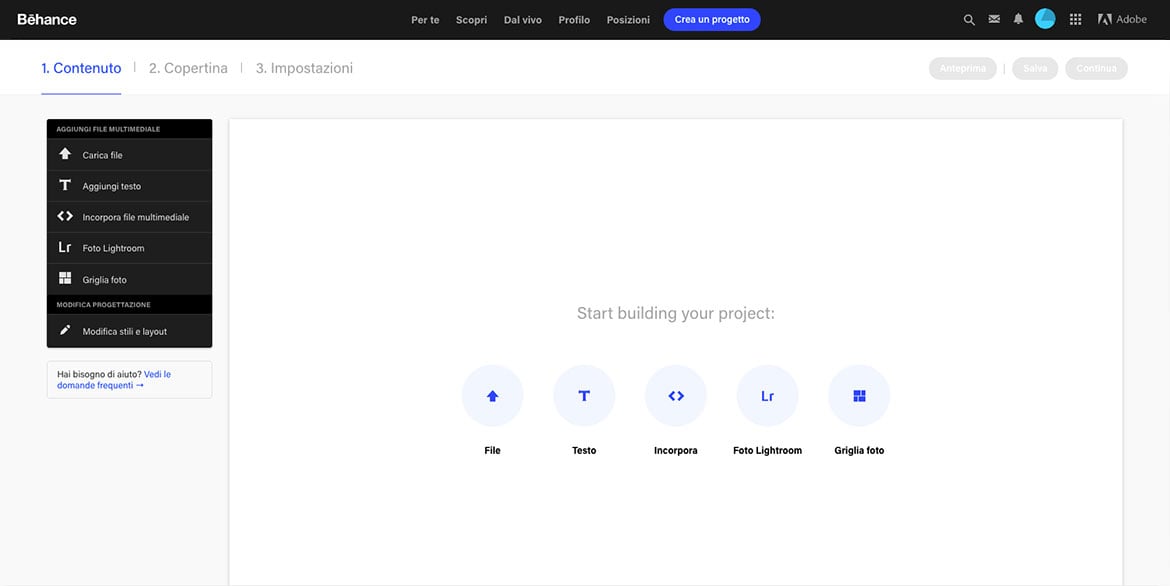
Here, you upload your work, making sure to use a descriptive title that includes the project type and the year it was created (e.g., Name_logodesign_2017). Adding a concise yet thorough description helps explain your creative process and the reasoning behind your choices. Think of this description as a narrative that enhances the way your work is presented.
For more complex projects, including detailed images or videos that document your creative process is a good idea. This helps tell the story of how the project was developed and how it’s meant to be used.
The “Edit Styles and Layout” section lets you personalize the look of the project, adding a unique touch to your presentation.
Mid Phase: Selecting the Cover Image
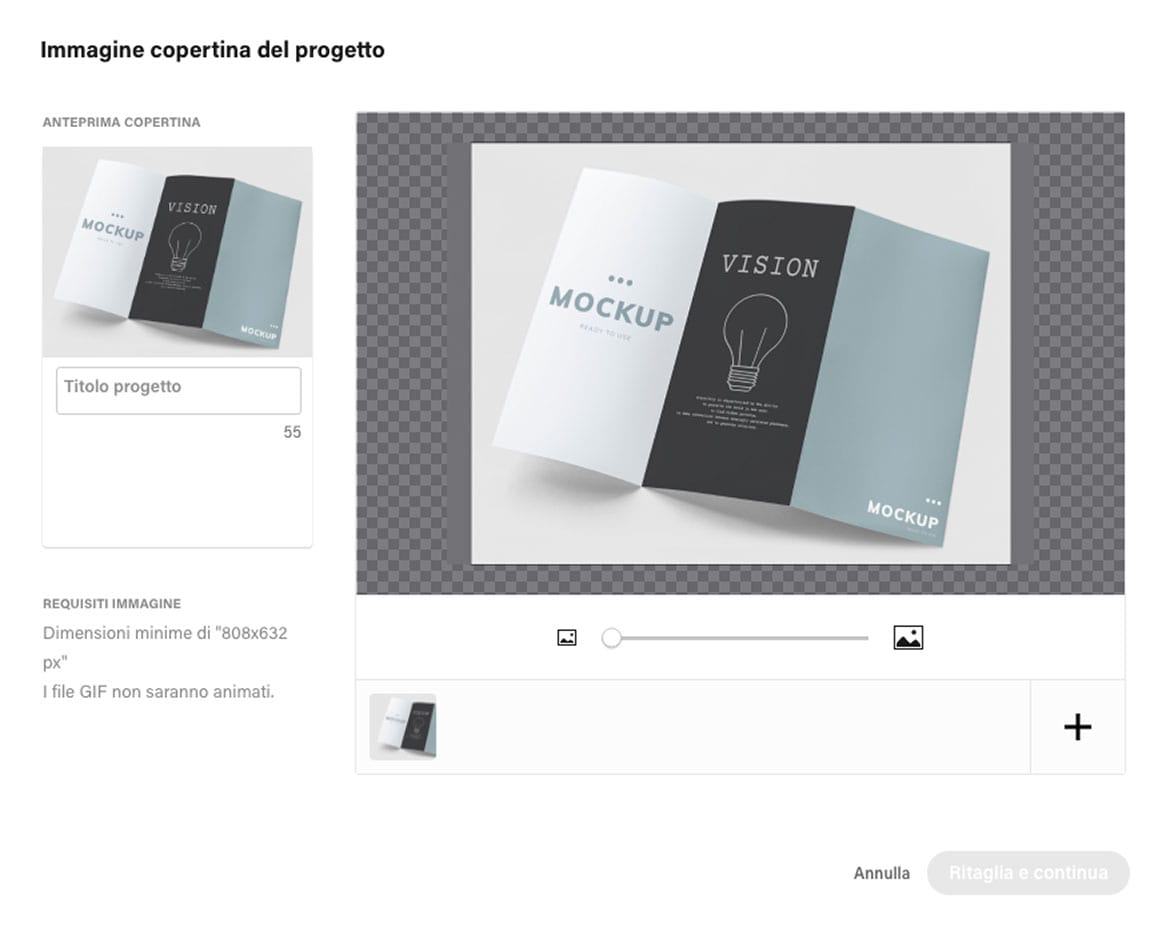
The cover image is pivotal as it’s the first visual contact with your audience. It should be compelling and reflective of the project’s essence. Researching top Behance covers for inspiration can help you stand out.
Final Phase: Project Details
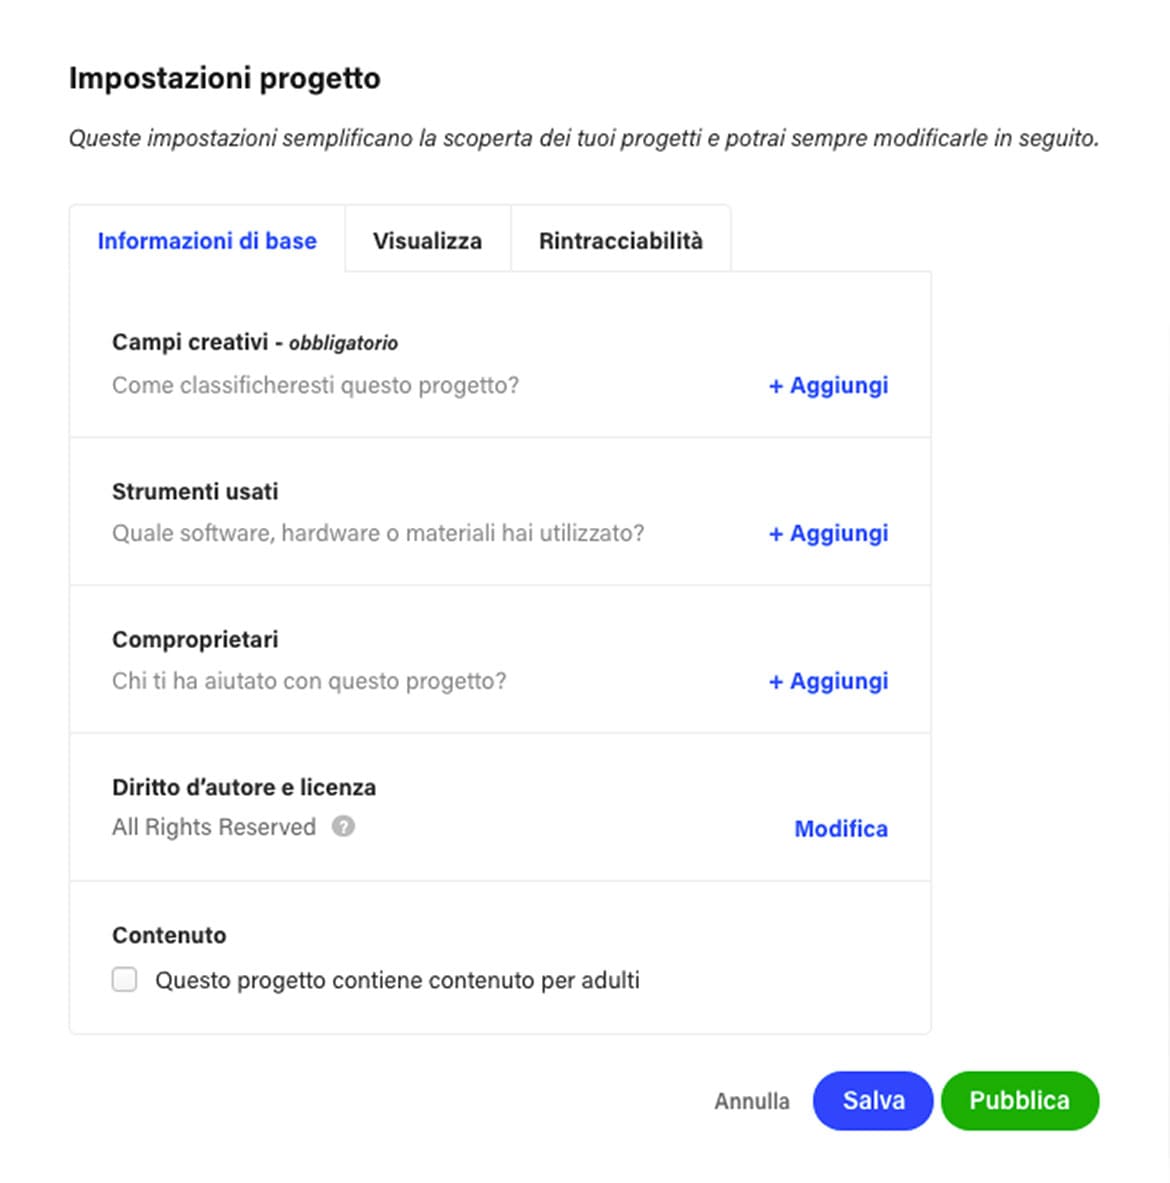
In this section, you input essential details such as tags for categorization, the tools used, collaborators, and a project description. After filling out this information, hitting “Publish” adds the project to your portfolio.
A final tip: Space out your project uploads to maintain your followers’ focus on each project rather than overwhelming them with too much at once.
That wraps up our Behance walkthrough.